11. Working with Bioconda.
Learning objectives:
- learn what bioconda is
- understand basic
condacommands - learn how to list installed software packages
- learn how to manage multiple installation environments
11.1. What is bioconda?
See the bioconda paper and the bioconda web site.
Bioconda is a community-enabled repository of 3,000+ bioinformatics packages, installable via the conda package
manager. It consists of a set of recipes, like this one, for sourmash, that are maintained by the community.
It just works, and it’s effin’ magic!!
11.2. What problems does conda (and therefore bioconda) solve?
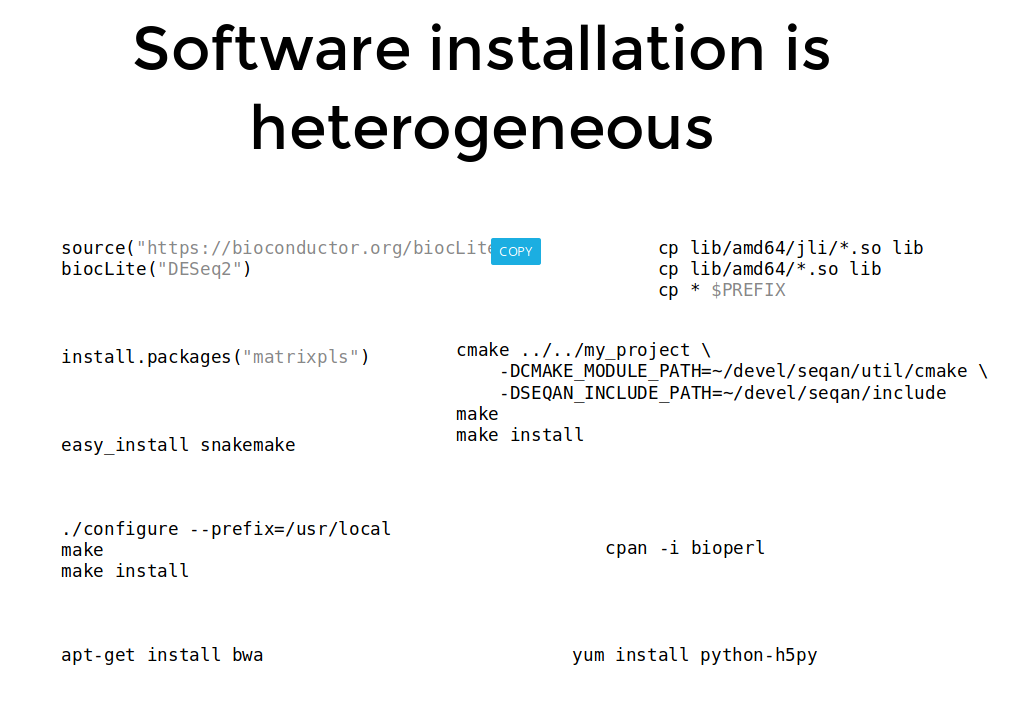 soft_prob
Conda tracks installed packages and their versions.
Conda makes sure that different installed packages don’t have conflicting dependencies (we’ll explain this below).
11.3. Installing conda and enabling bioconda
We have already installed conda on this instance, but please see the installation HackMD after the class if you’d like to do this yourself.
To be able to use that installation, we need to let the instance know what path to find bioconda in:
echo export PATH=$PATH:/opt/miniconda3/bin >> ~/.bashrc
Then, run the following command (or start a new terminal session) in order to activate the conda environment:
source ~/.bashrc
Add channels
conda config --add channels defaults
conda config --add channels conda-forge
conda config --add channels bioconda
Try running a program pre-installed on this instance:
fastqc
11.4. Using conda
Conda is a “package manager” or software installer. See the full list of commands.
conda install to install a package.
conda list to list installed packages.
conda search to search packages. Note that you’ll see one package for every version of the software and for every version of Python (e.g. conda search sourmash).
11.5. Using bioconda
bioconda is a channel for conda, which just means that you
can “add” it to conda as a source of packages. That’s what the conda config above does.
Note, Bioconda supports only 64-bit Linux and Mac OSX.
You can check out the bioconda site.
11.5.1. Finding bioconda packages
You can use conda search, or you can use google, or you can go visit the list of recipes.
11.5.2. Freezing an environment
This will save the list of conda-installed software you have in a particular
environment to the file packages.txt:
conda list --export > packages.txt
(it will not record the software versions for software not installed by conda.)
conda install --file=packages.txt
will install those packages in your local environment.
11.5.3. Constructing and using multiple environments
A feature that we do not use much here, but that can be very handy in some circumstances, is different environments.
“Environments” are multiple different collections of installed software. There are two reasons you might want to do this:
- first, you might want to try to exactly replicate a specific software install, so that you can replicate a paper or an old condition.
- second, you might be working with incompatible software, e.g. sometimes different software pipelines need different version of the same software. An example of this is older bioinformatics software that needs python2, while other software needs python3.
To create a new environment named pony, type:
conda create -n pony
Then to activate (switch to) that environment, type:
source activate pony
And now when you run conda install, it will install packages into this new environment, e.g.
conda install -y checkm-genome
(note here that checkm-genome requires python 2).
To list environments, type:
conda env list
and you will see that you have two environments, base and
pony, and pony has a * next to it because that’s your
current environment.
And finally, to switch back to your base environment, do:
source activate base
and you’ll be back in the original environment.
11.5.4. Meditations on reproducibility and provenance
If you want to impress reviewers and also keep track of what your software versions are, you can:
- manage all your software inside of conda
- use
conda list --export software.txtto create a list of all your software and put it in your supplementary material.
This is also something that you can record for yourself, so that if you are trying to exactly reproduce
11.5.5. Using it on your own compute system (laptop or HPC)
conda works on Windows, Mac, and Linux.
bioconda works on Mac and Linux.
It does not require admin privileges to install, so you can install it on your own local cluster quite easily.
11.6. Rstudio - Getting started
Connect to RStudio by setting your password (note, password will not be visible on the screen):
sudo passwd $USER
figuring out your username:
echo My username is $USER
and finding YOUR RStudio server interface Web address:
echo http://$(hostname):8787/
Now go to that Web address in your Web browser, and log in with the username and password from above.